MATERIALS SCHEDULE — BRIGHTON, VIC
SELECTIONS BY APPOINTMENT
CUSTOM BATHROOMS
CUSTOM
Most bathrooms are assembled from stock parts: a 900mm vanity, an off-the-shelf screen, a niche sized to whatever tile turns up. A custom bathroom reverses the order. The room is measured first, the falls and joint lines are set, and then the joinery, stone and glass are made to those numbers.
It earns its place in Brighton houses where nothing is square — older walls that bow, added-on wet areas carrying two or three floor levels, and wide bayside windows that leave awkward wall lengths either side. If your room is close to standard, a straightforward bathroom renovation will usually serve you better. Custom is worth the extra drawing time when the constraint is real.
MADE, NOT BOUGHT
JOINERY
STONE TOPS
GLASS & NICHES
WALL IT SITS ON
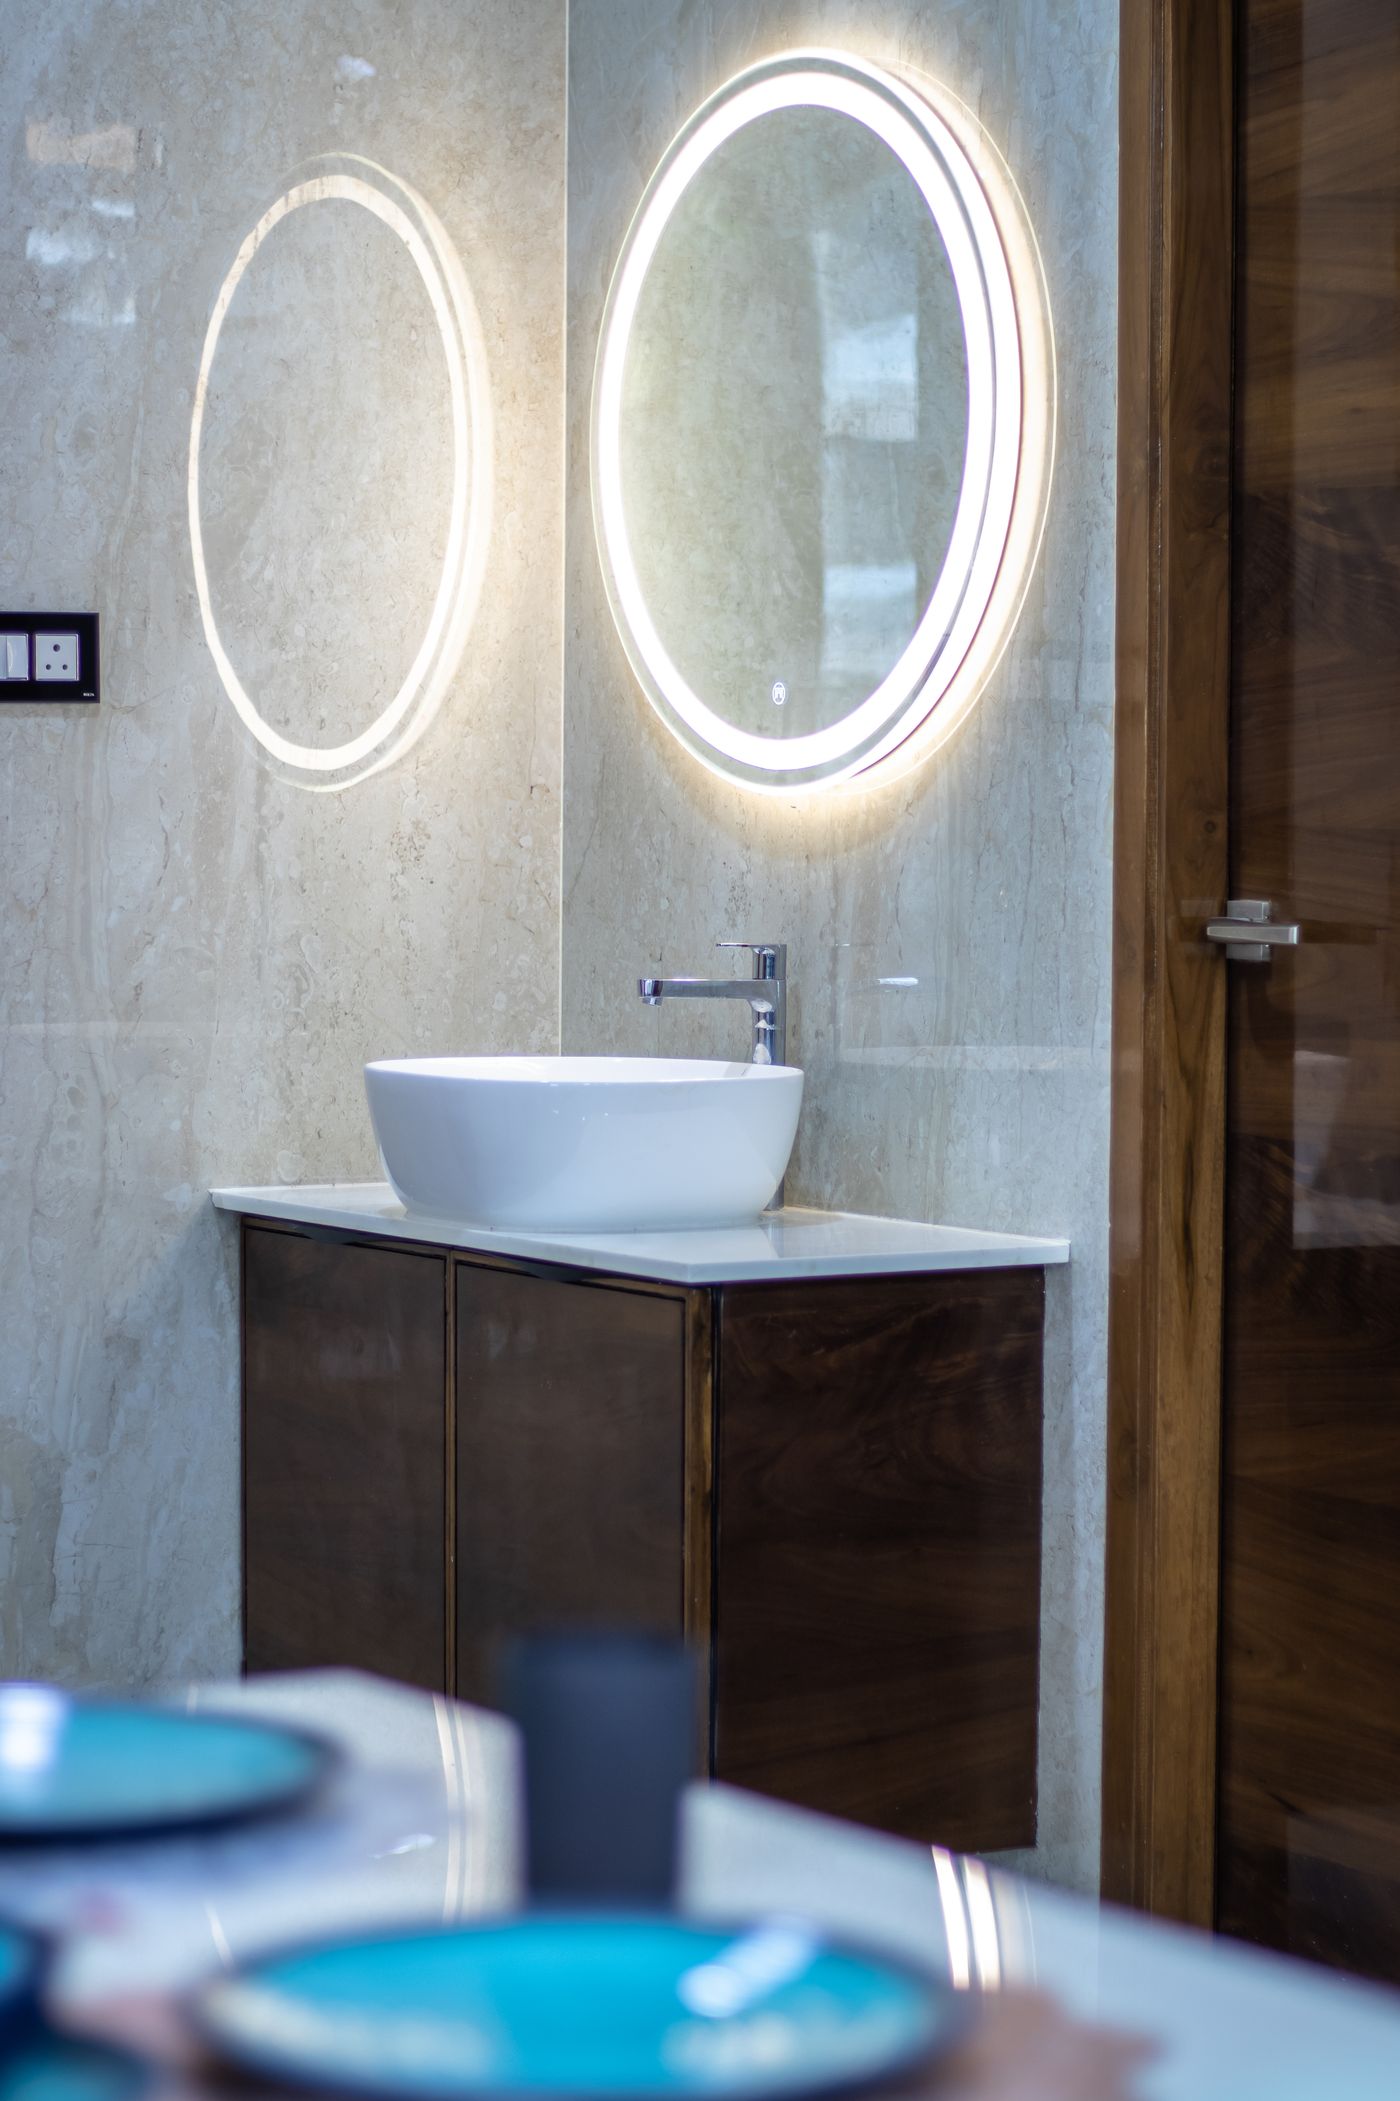
A made-to-measure unit lets us run a vanity the full length of a wall, hold a consistent shadow line to the floor, and keep drawers clear of the trap and the waste. Where a stock cabinet would leave a 70mm filler strip beside the door architrave, a fabricated one simply stops where the wall stops.
The same logic carries through the room: mirror cabinets recessed into the stud line, a bench seat that matches the shower fall, and toe kicks cut to the finished floor rather than the slab. Where you only need the cabinetry itself replaced, see vanities and cabinetry; where the tile layout drives the joinery dimensions, bathroom tiling covers the setting-out side.
THE STOCK ROUTE
Products are ordered early, so trades can be booked tighter and the build moves quickly. The trade-off is tolerance: the room is adjusted to suit the product, and gaps are closed with fillers, silicone and packers. For a compact, regular room this is often the sensible answer — see small bathroom renovations.
THE CUSTOM ROUTE
Nothing is ordered until the room is stripped and the real dimensions are known, so the fit is exact and the details line up. In return you carry longer fabrication windows and less flexibility to change your mind late. Cost direction moves with the number of made items rather than the room size — the thinking behind that is set out in bathroom renovation costs.
COMES TOGETHER
01 — MEASURE AND DRAW. The existing room is surveyed, including out-of-square walls and floor levels, and a layout is drawn against those figures. This overlaps with bathroom design and planning.
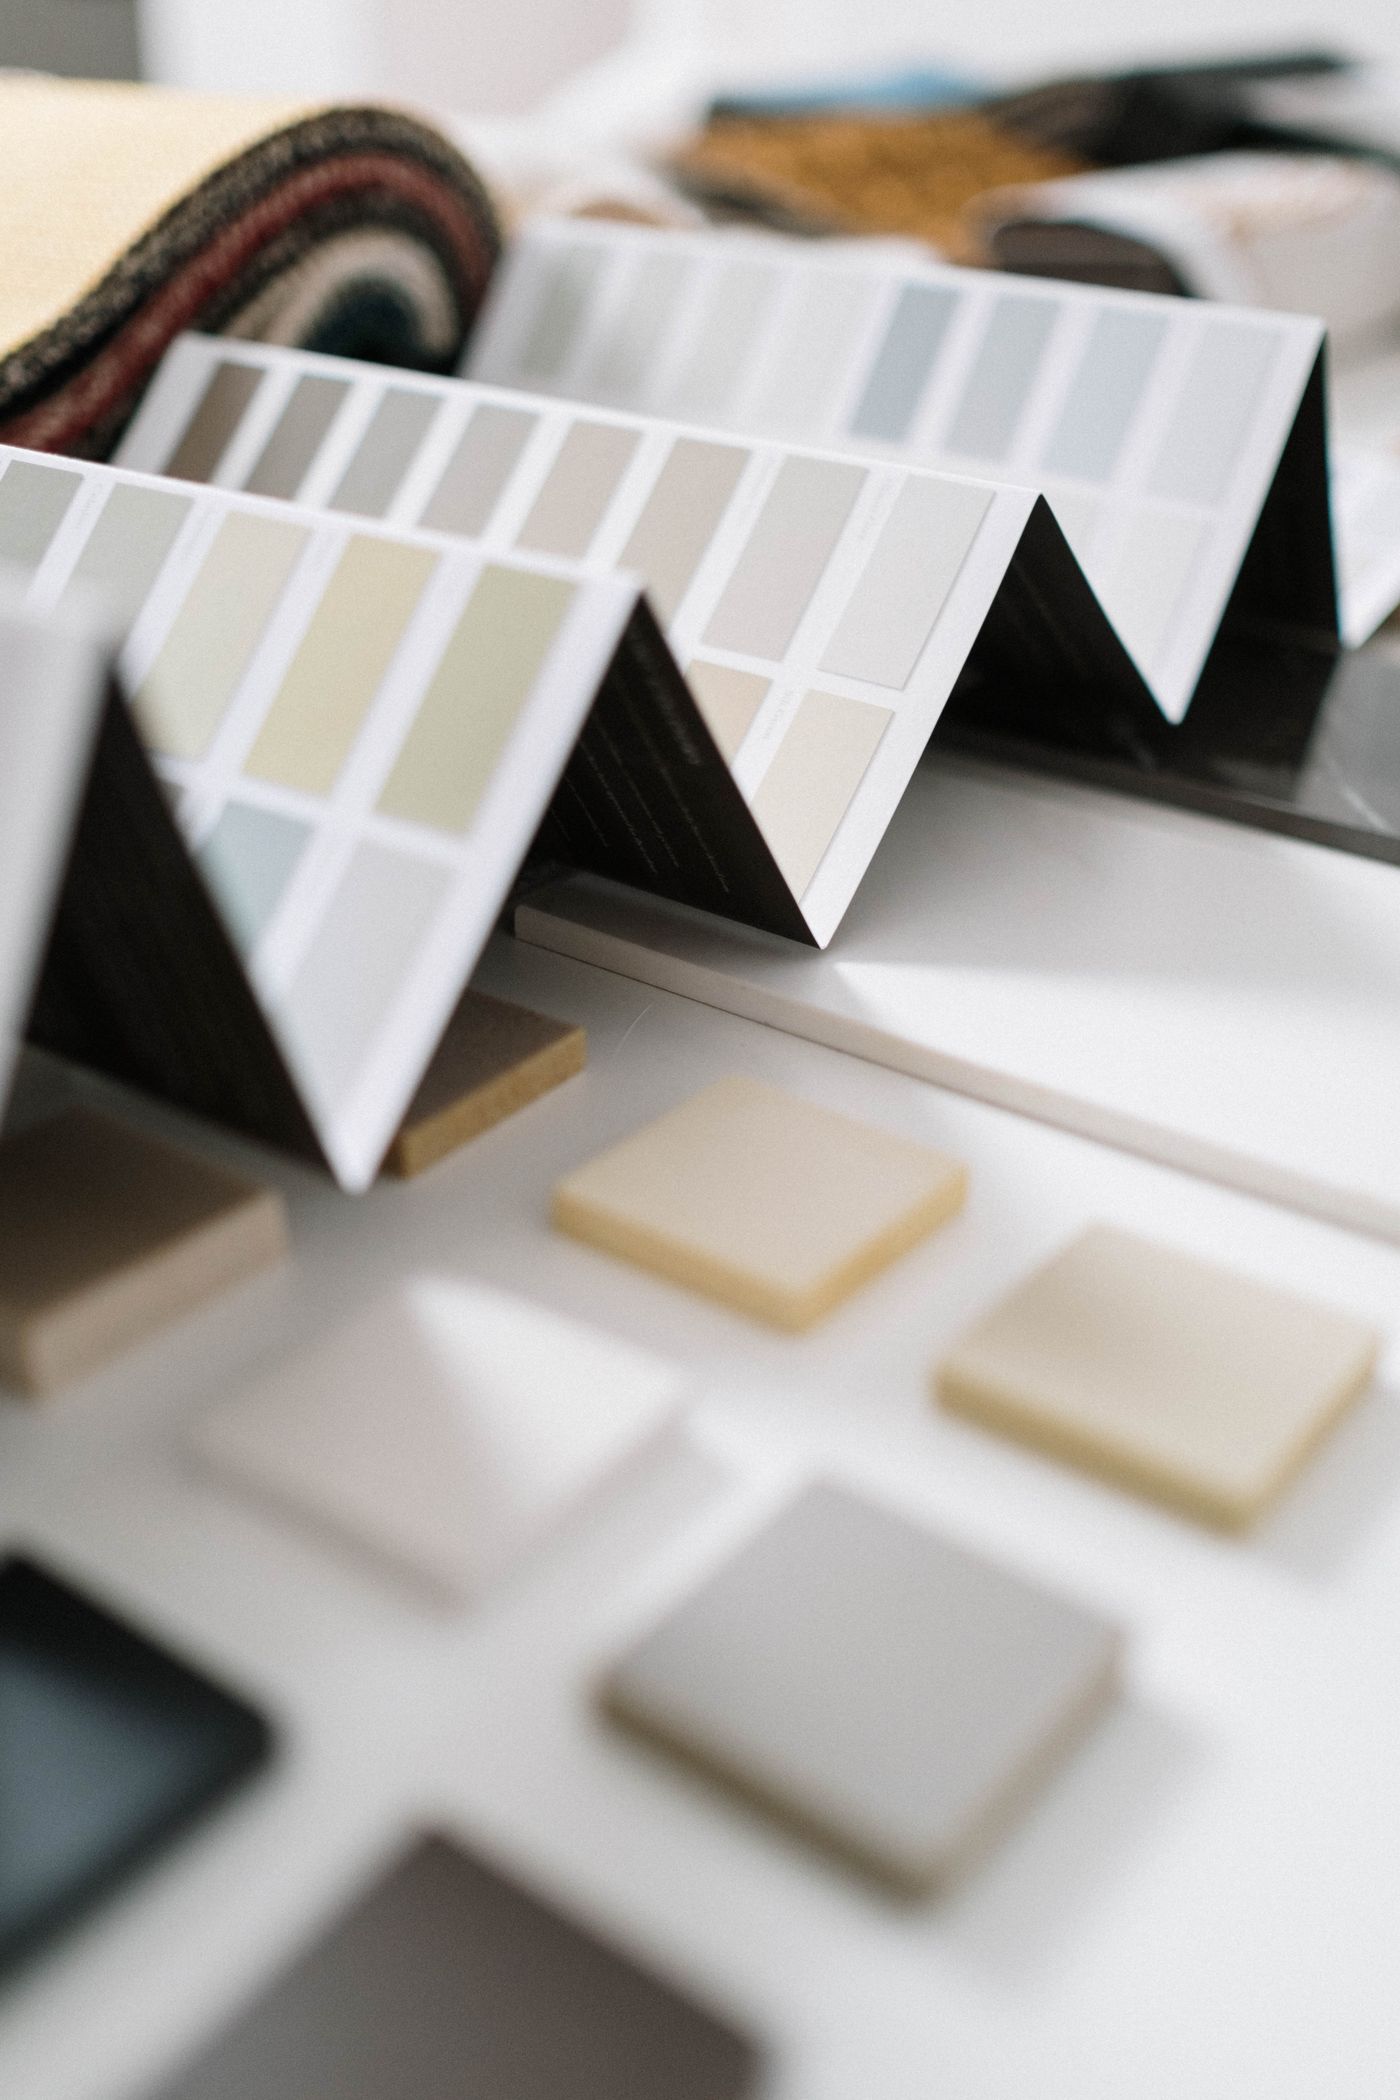
02 — SELECT, THEN FIX SIZES. Tile format, stone and tapware are chosen before demolition, because each one changes joint width, wall build-up and cabinet depth.
03 — STRIP AND RE-MEASURE. Once the room is back to frame, dimensions are checked again and shop drawings are released for fabrication.
04 — ROUGH-IN AND WATERPROOF. Services are set to the drawn positions, falls are formed and the room is sealed. Details are covered under bathroom waterproofing.
05 — TILE, TEMPLATE, INSTALL. Tiling comes first, then stone and glass are templated to the finished surfaces and installed with the joinery. The general staging is described on our process.
QUESTIONS BEFORE WE DRAW
Does custom mean everything is made?
When do sizes get locked in?
Can a period room take custom work?
Is this only for main bathrooms?
TELL US WHAT WON'T FIT
Send through the room and the problem — the wall that bows, the door that clashes, the length that no stock unit covers. The enquiry form asks for your name, email, phone, suburb, renovation type, budget range, timeframe and project details, and is stored privately in this website.
Related pages: luxury bathroom renovations, modern bathroom renovations, design references and service areas across Bayside.